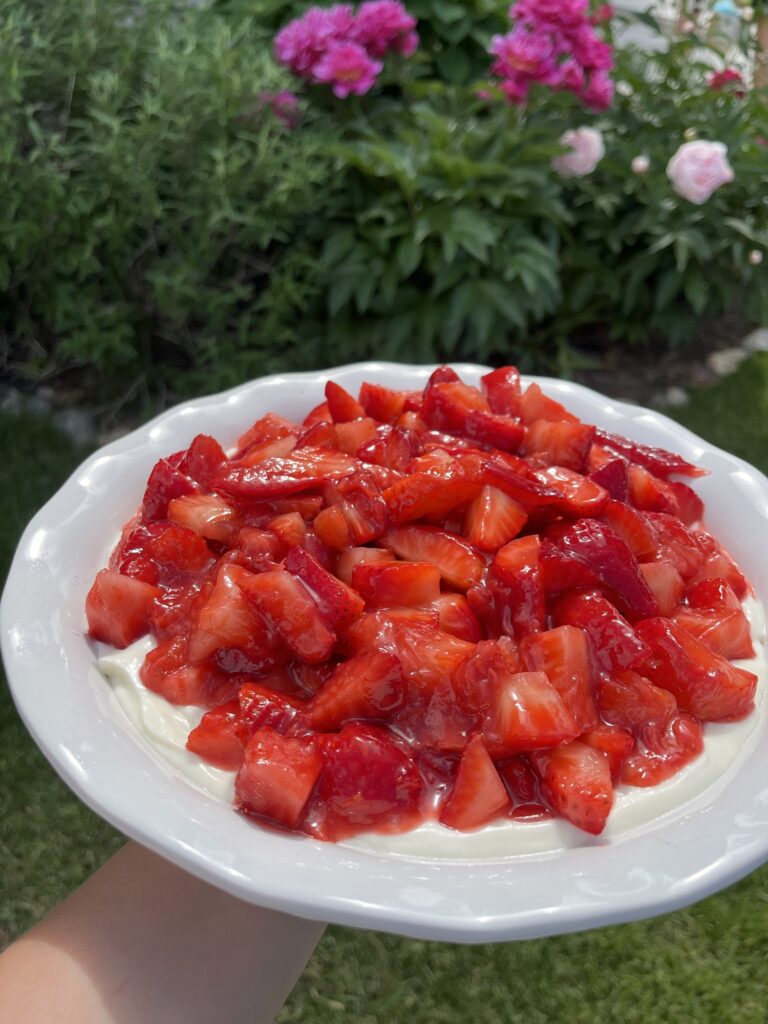
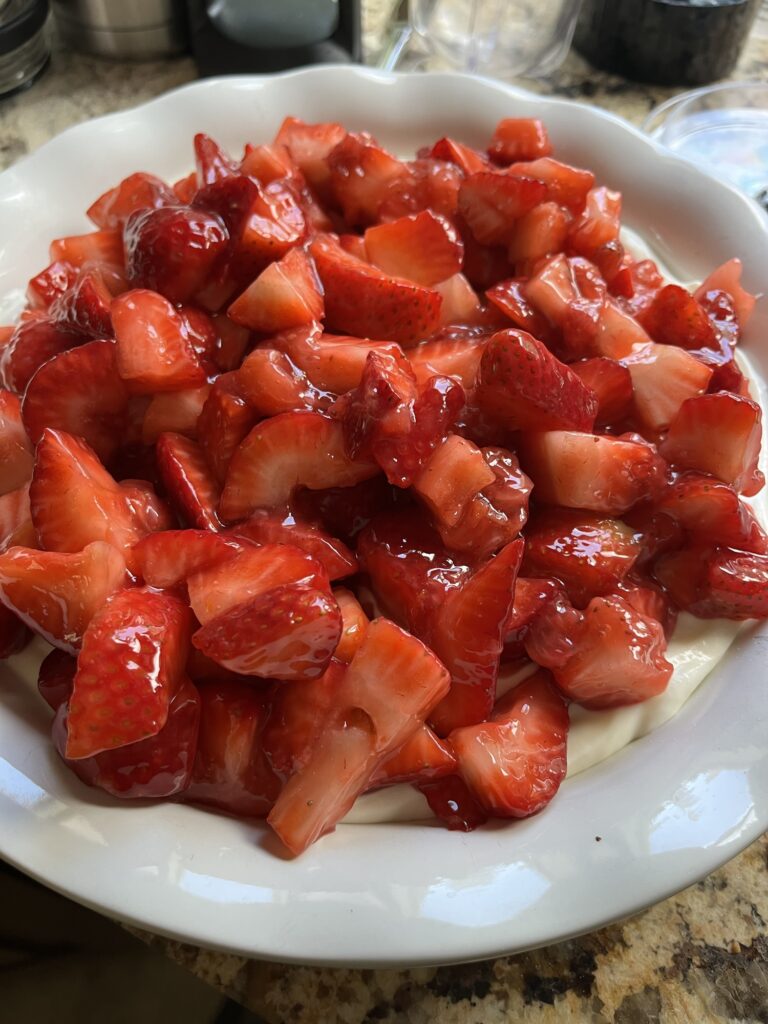
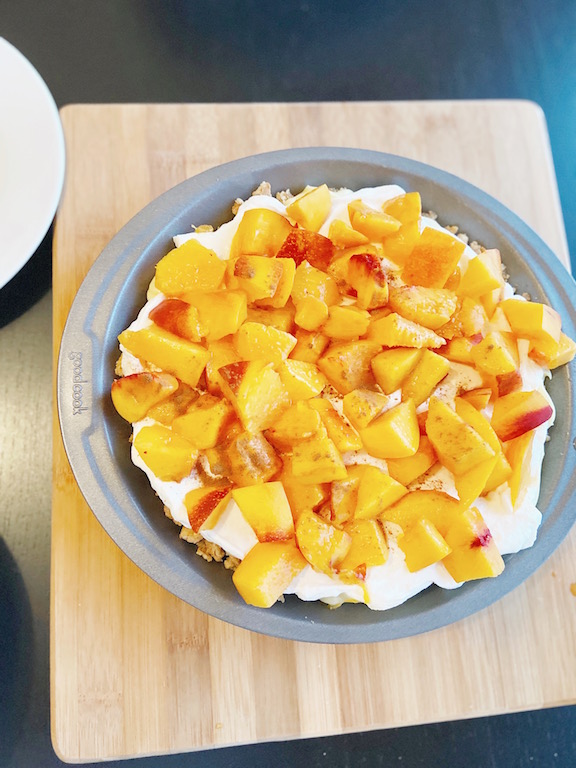
The perfect kickoff to summer is this amazingly delicious fresh strawberry pie! This no bake dessert comes together in under 15 minutes and is such a crowd pleaser.
Ingredients:
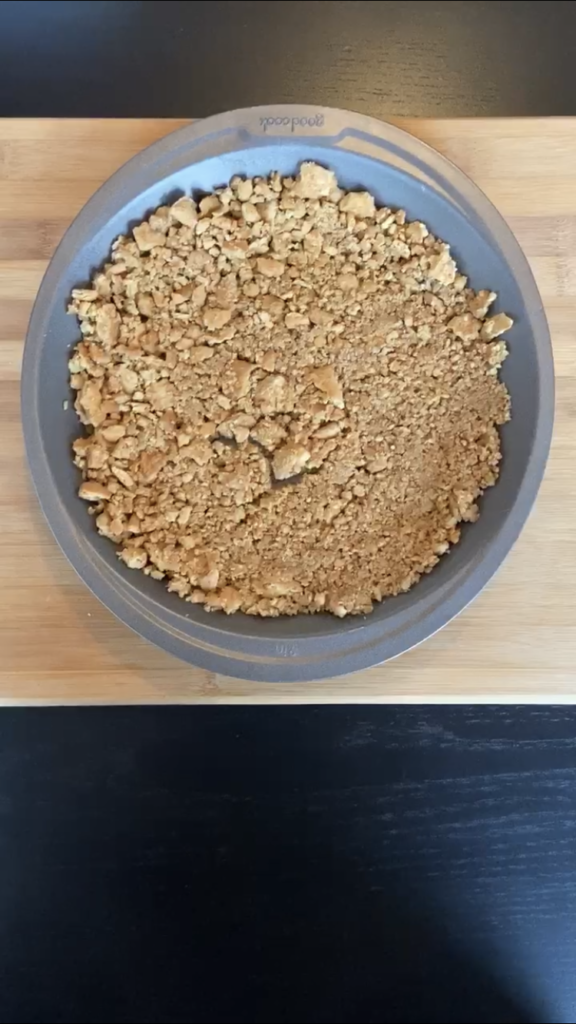
Graham Cracker crust:
6 whole Graham crackers, crushed
1/3 Cup coconut oil
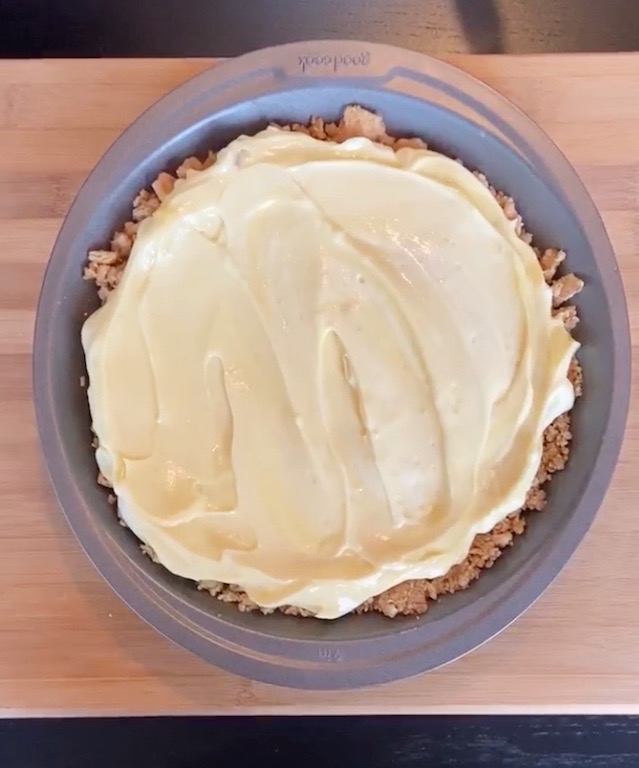
Cream Filling:
1 pkg cream cheese
1/2 Cup heavy whipping cream
1 Cup powdered sugar
Strawberry Glaze:
1 Cup fresh strawberries, mashed
2 Tablespoons corn starch
1/3 Cup white sugar
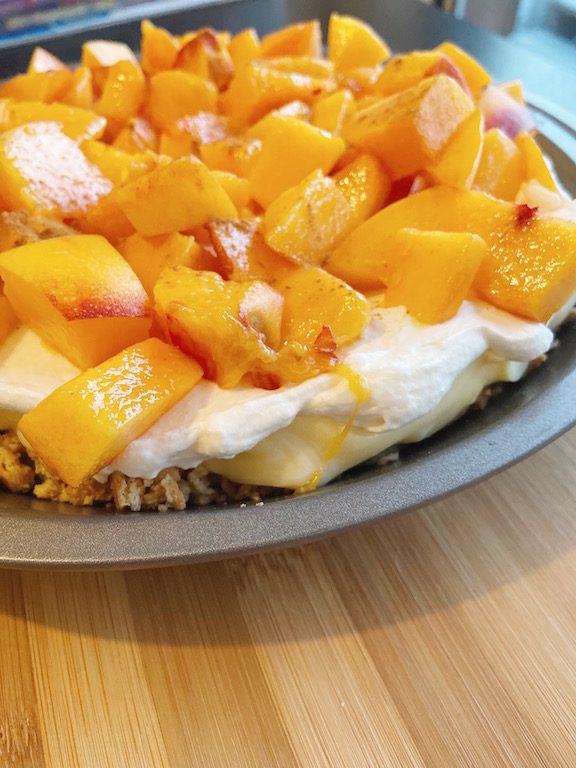
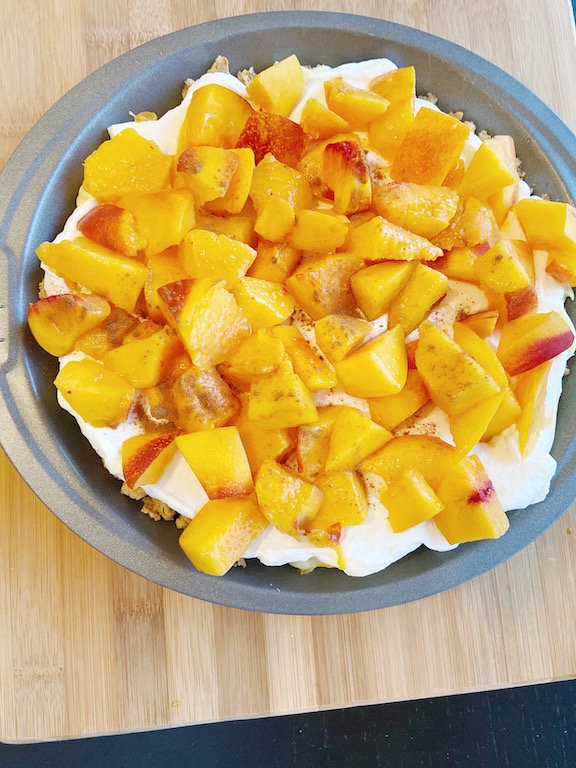
Fresh strawberries:
3 Cups sliced strawberries
Preparation: Make Graham cracker crust and set aside. Whip together cream filling and place on top of Graham cracker crust. Mix together ingredients for strawberry glaze in a pan. Cook on stovetop until barely boiling. Set aside and let cool. Chop up fresh strawberries, and place them on top of cream filling. Pour strawberry glaze over the top. Refrigerate for at least two hours, I like to freeze mine for the last 30 minutes.
Enjoy!


 (
(


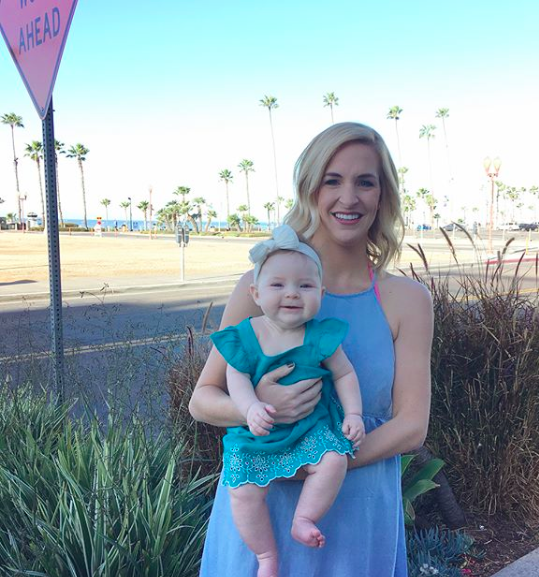
 (lots of pretty palms in Oceanside)
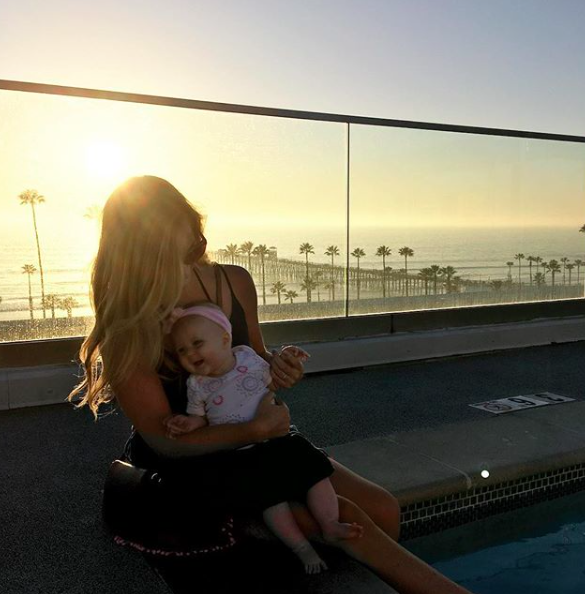