Botox or Dysport, whichever you choose, can have great results. Which is why we are sharing 5 tips to make botox last longer. We are big fans of Botox and Dysport! Especially after we did the experiment where we compared the two and Britt got Botox, Brooke got Dysport. You can read that post HERE. We ended up loving Dysport simply because it worked better and lasted longer for us. But, we heard from many of you that Botox works better for you, so it really depends on the person.

According to the US Dermatology Partners, Dysport, which entered the U.S. market in 2009, was used in Europe as an alternative to Botox for more than a decade before that.
The one downside to injectables – they are pretty expensive. Most of the time you end up spending $300-$400 on Botox or Dysport and it can last as little as 4 months. So, we asked our doctors and nurses for tips on making it last as long as possible.
#1 Don’t Work Out
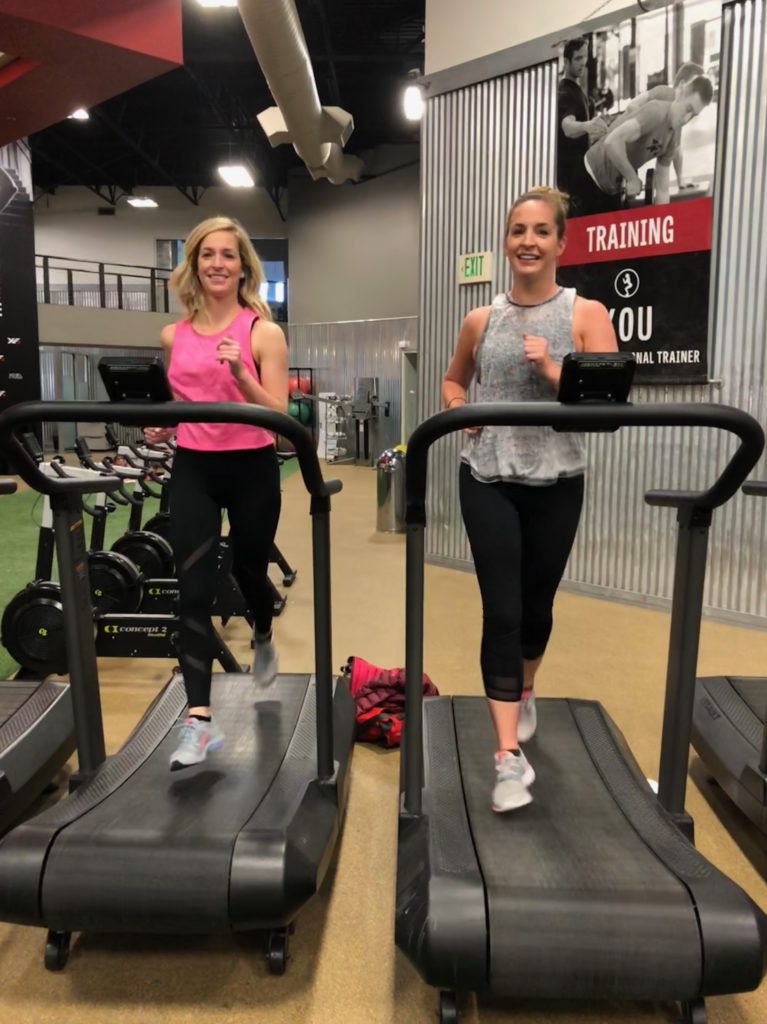
So, this sounds daunting, but really you just need to make sure you’re not working out for 24 hours after you get the procedure done. Sweat can screw things up, to put it bluntly. My doctor told me taking a walk was completely fine, but to stay away from high intensity exercises that make you sweat.
High intensity workouts can also cause your injectables to wear off faster. This is because of metabolism and the different speeds at which we all metabolize. High cardio exercise that makes you sweat a lot can make your Botox or Dypsort not last quite as long.
#2 Don’t Take A Nap
This is more of a precautionary measure you need to keep in mind for up to 6 hours after you get injected. If you lay on one side or the other, the Botox or Dysport could possibly slide to that side and make your face look very uneven. Rather not risk it and try not to lie down.
#3 Wear Sunscreen
Sun damage can decrease the effectiveness of your injectables. Who knew?! So, next time you are in the sun, make sure to wear a hat. I was also advised to wear at least SPF 50 on my face every day. I love to use this CC cream, which also has SPF 50 in it. One less step and it has great coverage and stays on well when swimming.

#4 Use High Quality Skin Care
Using high quality skin care will make your purchase more worthwhile because it will help maintain your skin. I always ask my doctor what they suggest I use. High quality does not necessarily mean super expensive. I would recommend asking your doctor what they think would work well on your skin.
#5 Stress Less
Did you know stress is bad for your skin? Of course it’s not good, but it can also cause breakouts and cause wrinkles because of squinting and scowling. So, how exactly do you stress less? A few things I’m trying: spending less time on my phone, stretching for a few minutes before bed, setting a phone curfew for myself, starting my day with a large glass of water, and exercising every day. Hopefully, all of them add up to some stress relief.
Every dermatologist or doctor will also tell you regular treatments will make them last longer because you won’t be starting from square one every time. I have noticed this on my own face. If I keep up with treatments, it seems to be less expensive and last longer.
Is there anything we forgot to mention when it comes to making your injectables last longer? We would love to hear your tips.